Electronic faxing, or efaxing, is easier to set up. It operates entirely using email, software, or a dedicated mobile app, reducing costs and maintenance hassles.
Without fax machines or printers, setting up efaxing allows for a hassle-free and entirely paperless fax system.
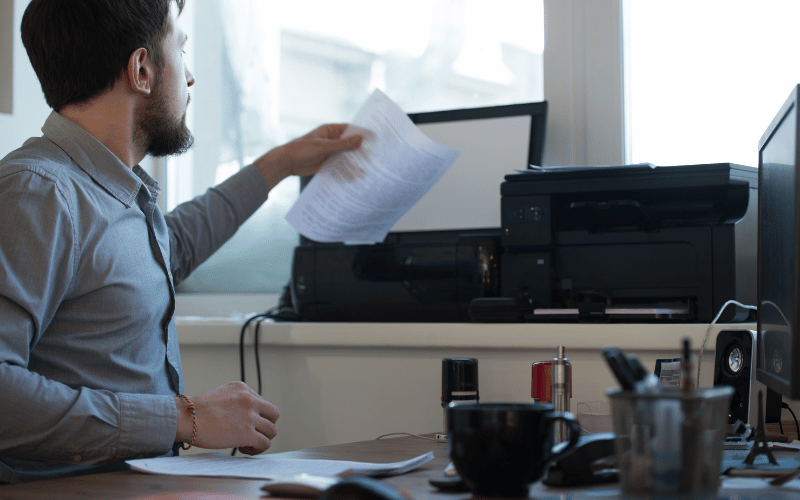
Learn how to setup efax to start sending and receiving electronic faxes.
Table of Contents
What Is Efax?
Efax (electronic fax) sends and receives faxes online instead of a traditional fax machine. Originally, faxes were delivered as analog signals through copper-based phone lines. With the copper switch off and advances in communication technology, faxes can now be converted to digital signals and transmitted through wireless or fiber-optic cables.
Electronic fax lets you send a document, like a PDF or picture, through email or a special website, and it gets delivered as a fax to someone else. If they have a fax machine, it prints out like a regular fax. If they also use an efax solution, they get the fax as an email. This makes faxing faster, easier, and paper-free.
Getting Ready Before Setting Up Efax
Before anything, there are certain things you need to fulfill to ensure a seamless efax setup process. Doing so will prevent delays or problems during setup.
Here’s a quick rundown on what you need to prepare before proceeding with the actual electronic fax setup process:
- Valid email address: An email address is required to set up an efaxing account.
- A compatible device with a stable internet connection: This could be a phone, computer, tablet, or any device that supports efax software or web-based platforms.
- Supported document formats: To avoid transmission issues, the documents you wish to fax should be in the following formats: PDF, DOCX, JPEG, and PNG.
- Scanner and printer (optional): Should you need printed copies, it’s best to have a scanner or an all-in-one printer ready.
Step-by-Step Guide on How To Set Up Your Efax Account
Note: This guide is for setting up an efax account with iFax, an electronic fax solution that works on computers, phones, and other devices connected to the Internet.
1. Sign up using email
Enter a valid email address to sign up for an account. For efax login, you can use an existing Google, Microsoft, or company email address.
2. Start a trial or choose a plan
A trial account lets you access all the paid and premium electronic fax features for 7 days, giving you enough time to try and evaluate the service.
Once the trial ends, you can continue using the service by choosing an efaxing plan that best aligns with your usage requirements. Consider your average daily and monthly fax volumes and whether you need to set up different fax numbers, company fax pages, and team accounts.
Also, it’s best to figure out the type of fax solutions and features your business needs beforehand. Doing so helps avoid costly upgrades or downgrades and workflow disruptions.
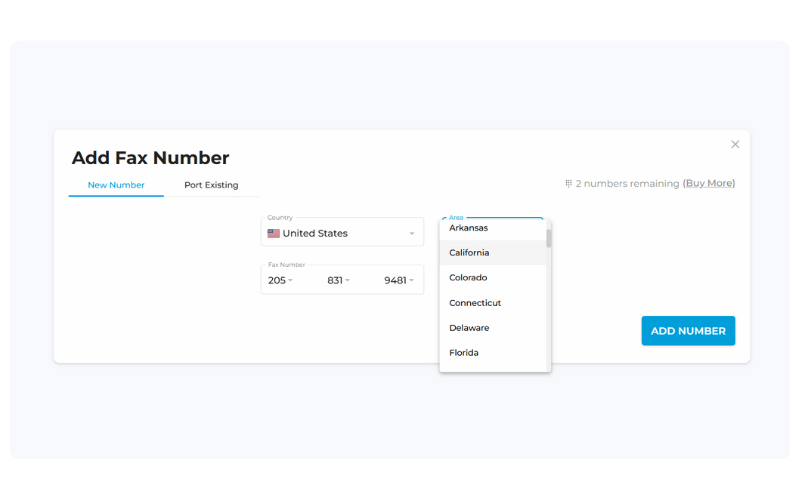
3. Set up an efaxing number
Get a new fax number or port an existing one from your current electronic fax provider. iFax lets you set up an efaxing number in the United States, United Kingdom, Canada, and Italy.
Indicate the area and 10-digit number you want and click Add Number to confirm.
When porting an existing number, you need an active efaxing account with your current provider.
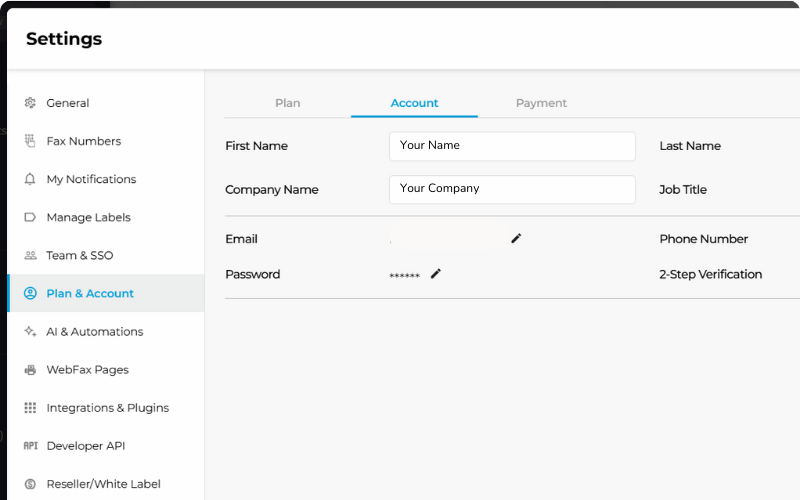
4. Configure your account settings
Go to your account’s fax dashboard, navigate to settings, and set up your desired efaxing preferences like profile name, document options, workflow prompts, email to fax, and auto-delete options.
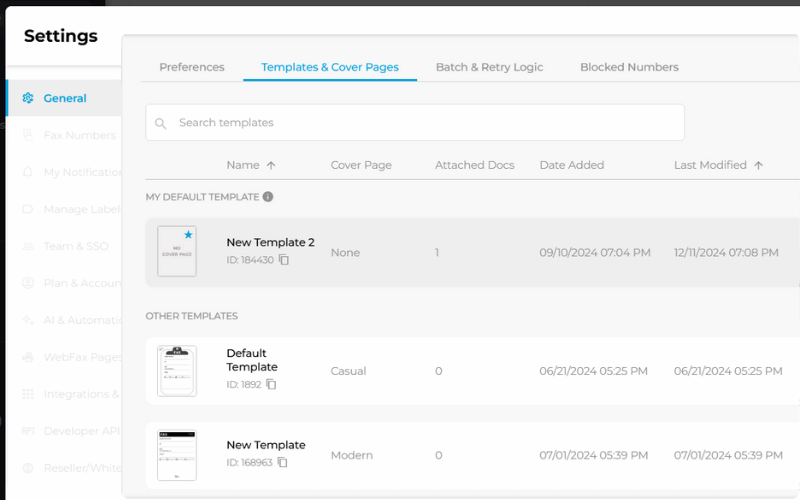
5. Set templates and default cover pages
Setting up fax templates and default cover pages saves you time, ensuring consistency and reducing manual input.
Create and save templates for different document types and effortlessly fax according to your specific needs.
How to Set Up an Efax Account Using a Computer
Getting started with electronic faxing on a computer is easier than the traditional fax method, which uses a machine that connects to a POTS line.
With iFax, you can follow these steps:
- Download and install the electronic fax application for Windows.
- Log in using the email address you used to sign up for an efaxing account.
- Click New Fax and follow the same steps for faxing from Windows.
How to Set Up Efaxing Using Phone
One advantage of electronic fax is that it lets you fax on the go using your phone or any smart device, taking your faxes along. It offers a modern, convenient, and secure method to fax documents.
Setting up efaxing on your phone starts with these steps:
- Download and install the mobile fax app specific to your device or phone operating system (i.e., Android or iOS).
- Launch the app and sign in using your registered efaxing account email.
- Click New Fax, enter your recipient’s fax number, and attach your documents.
- Send the fax and wait for the confirmation stating successful fax delivery.
By learning how to set up efaxing on your phone, you can keep track of your outgoing and incoming faxes in real time through email and mobile app notifications.
Related Guide: How to Send Fax Without a Fax Machine
Testing Your Efax Setup
One way to avoid failed faxes and other common efaxing issues is to test your efax account setup before sending a critical document or faxing documents in batches.
Here are some key things to consider during testing:
- Check your account subscription. See if your account is still active and whether it has been configured correctly.
- Send a test fax. Send a test fax to your primary or secondary number for outgoing faxes.
- Receive a test fax. See if your account inbox is receiving faxes correctly. Check whether the attached documents, including cover pages, have formatting or viewing issues.
- Check fax quality. Note any formatting errors, missing pages, and readability issues, such as distorted texts and images.
- Troubleshoot issues. You may need to reconfigure or update your account settings to resolve any faxing problems, such as faxing errors, invalid numbers, and poor page quality.
For problems related to account limits, failed faxes sent using email, and other errors, it’s best to contact the support team for assistance and detailed troubleshooting.
Electronic Fax Setup Made Simple and Digital
Electronic fax removes the hassle of setting up fax machines and connecting them to wired analog phone lines. All it takes is an email to set up an account, a supported device, and a stable internet connection.
Best of all, you can leverage modern features like AI-powered fax automation to streamline document exchange while protecting sensitive information.
Why fax tediously and waste resources when you can switch to an efaxing solution that’s secure, best for businesses, and machine-free?
Upgrade your efaxing game. Create an account now.